I built some ferrite chokes
Table of Contents
Before we start: there is a short wikipedia article about Ferrite beads that I wanted to share with you. Just in case you are new to the hobby and want a quick read about this topic.
Calibrate the nanoVNA(-F) #
Going through the calibration process with the full lenght of the used adapters. All measurements happen on port S11 except ISOLIN, where we connect both ports together.
- OPEN
Leave the cables as they are (open). - SHORT
Connect the red and black croco clips (shorten the circuit). - LOAD
Clip a 50Ω load to the croco clips (red one to the core, black one to the shielding). - ISOLIN
Leave the load connected. (Maybe add another one to the second cable on the port S21). - THRU
Shorten both cables (S11 & S21; red to red, black to black).
PL259 socket #
This is my selfmade choke for the good old PL259 sockets.
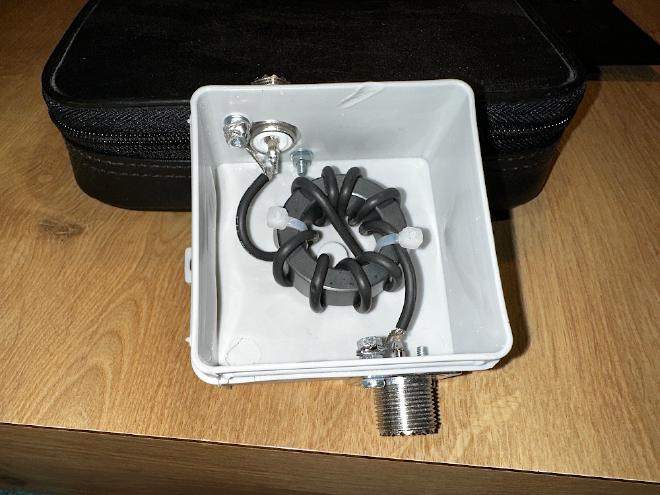
There are 9 turns of RG174 on a FT-140-43 ferrite core.
Connecting the red croco clip from port S11 to the shield of one PL259 socket and the red croco clip from port S21 to the shield of the other PL259 socket. Also connect both black croco clips together.
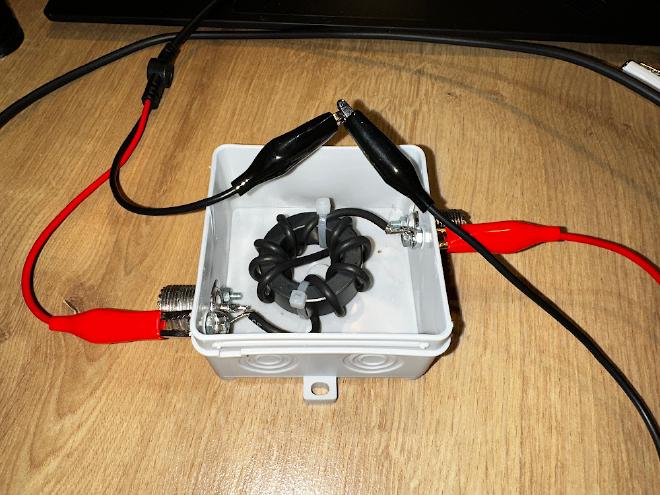
I got -30dB at 14.340 MHz and -25dB at 3.610 MHz.
BNC socket #
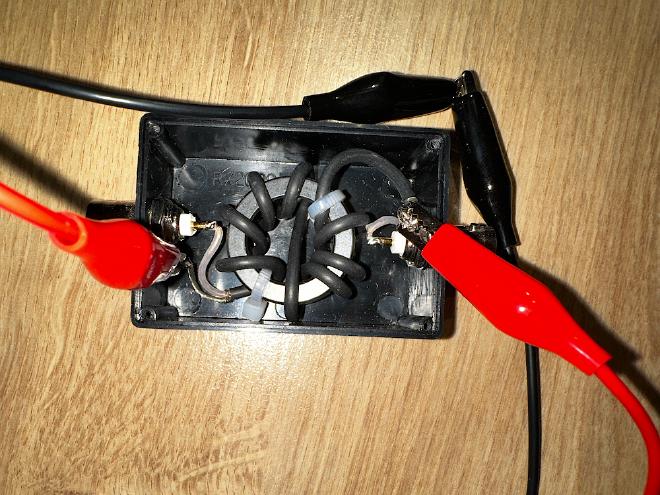
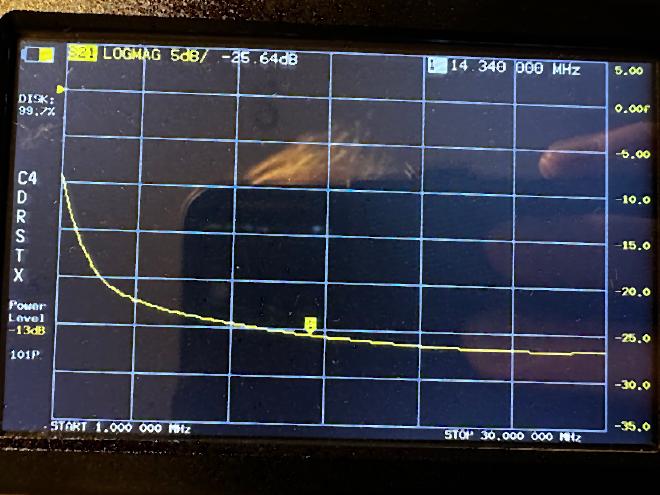
I made a smaller version with BNC sockets for portable operations as I switched my gear to a more lighter setup (which made me use QRP transceivers basically).
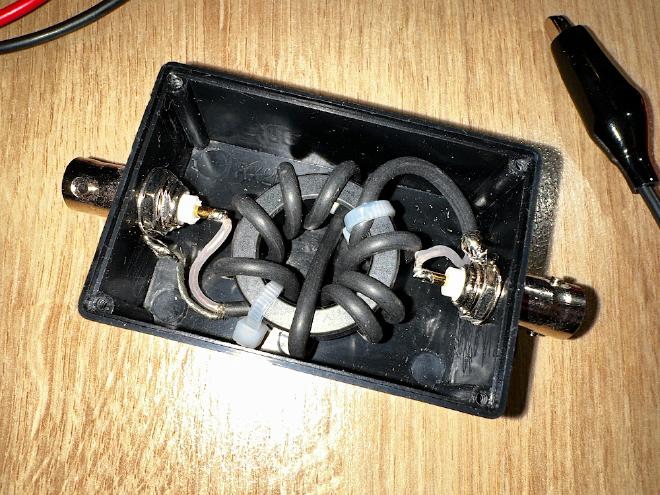
We measure the choke like the first one: connect the core (red croco clips) with the choke’s shield and shorten the shield of the nanoVNAs ports (black croco clips).
